When you’re recovering from a foot injury or surgery, a knee scooter is a helpful tool for getting around. Most people have never used one of these devices before, though, and that can make them a bit intimidating. The good news is, riding them is simple and just about anyone can do it. Read on to learn how to use a knee scooter safely.
Sizing your Knee Scooter
The first step for using a knee scooter properly starts before you buy it. Both the knee pad and the handlebars should be at a comfortable level that doesn’t require you to stoop, reach, or strain. A knee scooter that’s too tall or too short can lead to further injury since you won’t be as well balanced or supported while using it.
On most knee scooters, you can adjust the height of the handlebars and knee pad, but only within a certain range. You can determine whether that range will work for you by using a tape measurer. Stand up straight and bend your knee 90 degrees, then measure the distance between the floor and the bottom of your knee.
For the handlebars, the ideal height for most people is to set them roughly at your waist. You can again use a tape measurer to measure this distance. Ideally, you want to buy a knee scooter where these two numbers aren’t at the very top or bottom of their respective ranges, giving you some wiggle-room to find your ideal comfortable position.
How to Use a Knee Scooter Step-by-Step
Once you find a knee scooter that is a good size for your frame, the process of using it safely is very straightforward:
- Assemble the knee scooter and adjust the handlebar and knee pad as necessary. On most scooters, there is a knob you can turn to loosen and adjust the handlebars. Check your scooter’s manual for more specific instructions. Some scooters have right- and left-leg orientations for the knee pad, so check that as well while you’re adjusting its height.
- Lock the brakes. This will prevent the scooter from moving while you’re getting settled. Check the scooter’s manual to learn how to lock the brakes if you’re not sure. If the brakes don’t lock, you can instead brace the scooter against a wall or other immobile object.
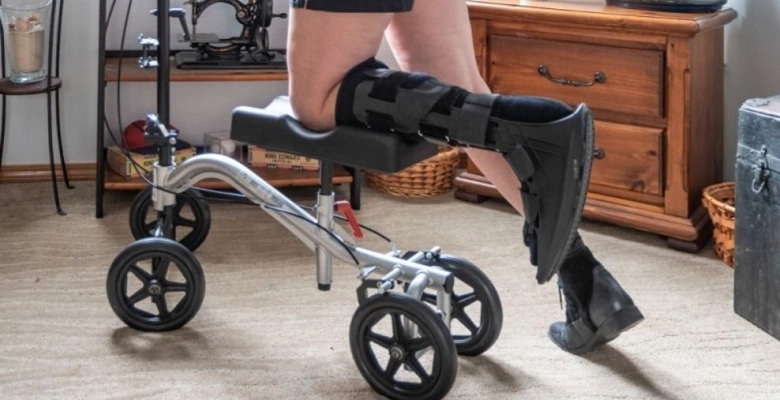
- Mount the knee scooter. Grab the handlebars first to give you a firm base of support, then rest your injured leg on the knee rest. Make sure you’re able to comfortably stay upright with your knee on the pad at a 90-degree angle before releasing the brakes. If not, get off and readjust the handlebar height before moving.
- Release the brakes and push with your uninjured foot. It can take some practice to get the correct stride, so it’s smart to practice in an open, smooth area until you feel you can control the scooter with confidence. Make sure to practice using the brakes so you know how much pressure they need and can use them to control your speed.
When you’re done using the knee scooter, you can simply take the same steps in reverse: lock the brakes, remove your knee from the pad, then release the handles. If you’re looking to buy a knee scooter, check this buyer’s guide.
What’s the Bottom Line?
Using a knee scooter isn’t hard, but like anything, it can take a bit of practice to get the hang of it. Putting in the time to get comfortable with your knee scooter before navigating crowds, tight spaces, or uneven surfaces can prevent accidents and additional injuries. We hope this guide has helped you figure out how to use your recovery aid!